Wednesday 28 November 2012

Torso, Arms & Hands


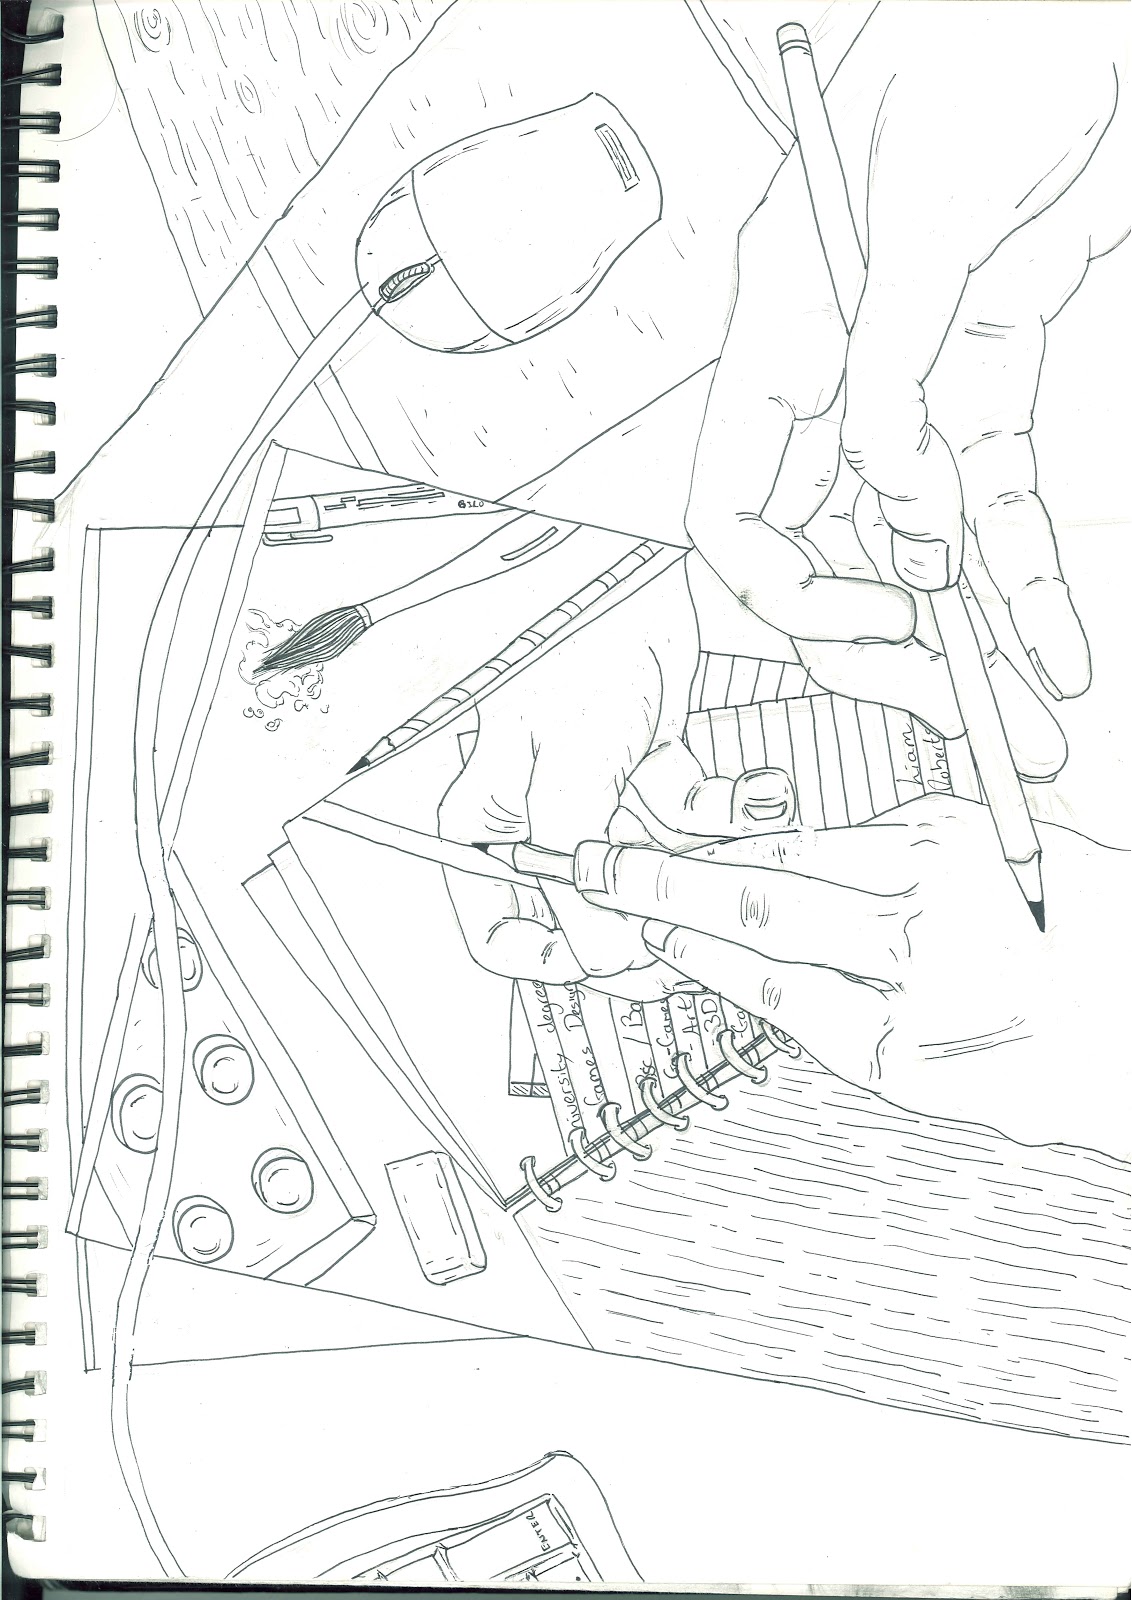
Drawing from the neck down this week mainly. Really wanted to study the torso and hand areas. The torso especially.

In the torso, I really wanted to look at the muscle area so I concentrated on the bits where this was most prominent. Creating the ribs area etc. It was really good to learn these areas..

The arms was something I was confident in anyway as the anatomy and muscles are pretty simple. Creating musclier arms are more complicated so I learned how to do this when creating my work.

When it came to hands, the hands drawings took me a while but I figured out eventually the structure of the hands. The hands are much more complex depending on the pose so my learning will always be developing. I'll probably use photo reference to do this. in the end.

Using Imagine FX Tutorials


I'm using these specific tutorials on Imagine FX to help with my anatomical processes. I really want to follow as many tutorials as I cna when it comes to this as I first, want to gather a lot of research and second get help from proper artists in the field.

Thursday 22 November 2012

Ashley Wood Robot Blueprints (without perspective)

After creating a draft version of the blueprints, I used too much of a thick line o create the blueprints. Coming back to it using a nicer line tool program, Sai, I made finer lines and much thinner ones so detail could be seen a lot easier

Rough Version


From this to this.......

Final Version

Concept Document Links

http://en.wikipedia.org/wiki/List_of_martial_arts

http://www.thewhitegoddess.co.uk/divination/astrology/star_signs_and_their_elements.asp

http://en.wikipedia.org/wiki/Astrological_sign

Pirate Level in UDK

The UDK pirate level I had to create turned out pretty well. I learnt a reasonable amount of techniques and items that are in the level creator while designing.

Instead of developing ideas using the pirate theme, I instead decided to use the assets themselves to develop the work. Use the boat wheel as a template for the whole design of the

level, I created a rock cave which originates in the middle of the map. With 8 entrances both high and low, 6 of the 8 entrances lead onto platforms which players would be able to explore. Like a small habitable island, players can visit them only via boat.

Using the assets was tricky but in the end I am happy with the final product as it fits the purpose I intended it for originally.


Wednesday 21 November 2012

Completed Sketching of Mouth/ Ears and Hair

Happy with everything. Including the eyes and the noses sketches i've already posted, i'm defnitely learning more about facial anatomy as a whole. Overall shading is something im seeing more easily and can bring it together a lot quicker.

The ears sketches especially. I'll be using these a lot for reference material as i've took them from different perspectives. Obviously depends on the pose, but I can see where detail lies now and simplify or over-exaggerate depending on the drawing intended.

When it comes to hair, I already had a pre-set technique developed which works for my style well as I can develop it further, pretty easily.

For mouths, I think it really depends on the colouring technique intended for complexity, but shape and how to draw them quicker I learn tfrom drawing mouths over and over again

Overall, happy that I did this and I tihnk facial anatomy might be easier for me to understand from now on.

Monday 19 November 2012

TEDTalk - Biomimicry

http://www.ted.com/talks/janine_benyus_shares_nature_s_designs.html

Heard this talk in class this week. Ben showed us this and it really applied to what im doing in my essay. Bio mimicry sounds incredibly interesting as a whole and and as its part of sustainable design, I thought it was necessary to now involve this in my essay

Bio Mimicry Definition:


Biomimicry (from bios, meaning life, and mimesis, meaning to imitate) is a new discipline that studies nature's best ideas and then imitates these designs and processes to solve human problems. Studying a leaf to invent a better solar cell is an example. I think of it as "innovation inspired by nature."
The core idea is that nature, imaginative by necessity, has already solved many of the problems we are grappling with. Animals, plants, and microbes are the consummate engineers. They have found what works, what is appropriate, and most important, what lasts here on Earth. This is the real news of biomimicry: After 3.8 billion years of research and development, failures are fossils, and what surrounds us is the secret to survival.
Like the viceroy butterfly imitating the monarch, we humans are imitating the best adapted organisms in our habitat. We are learning, for instance, how to harness energy like a leaf, grow food like a prairie, build ceramics like an abalone, self-medicate like a chimp, create color like a peacock, compute like a cell, and run a business like a hickory forest.
The conscious emulation of life's genius is a survival strategy for the human race, a path to a sustainable future. The more our world functions like the natural world, the more likely we are to endure on this home that is ours, but not ours alone.
Reference: Unknown. (2007-2012). What is Biomimicry? Retrieved from Biomimicry Institute: http://www.biomimicryinstitute.org/about-us/what-is-biomimicry.html

Friday 16 November 2012

Normal Mapping


Following the tutorial given to us by Ken for Normal Mapping, the three images above show the scene I created and the final outcome. The process wasnt too complicated but can be fussy when coming to the settings of the projection modifier. It generally works on the ouput, but can become "tangled" and ruin the projected image on the plane.


Trying to repeat the process in my own method was tricky and remembering some of the minor details, took a while. Mainly do with the lighting.
 
The roiginal outcome was that of the above image and was what I wanted to create in the end of the process. The second image didn't really come out as well. Certain elements did but some didnt such as the screws. I do think its because there was too much depth to the boolean I created with the shape. Some parts didnt work out as well either. Overall though ,I get the concept and I do think I could repeat the process, i just need to refine the original high poly version of the model.


Wednesday 14 November 2012

Review and Changes for 3rd Mechanic Document - Elemental Ammo

In this review, I created the mechanic "Elemental Ammo" for Borderlands 2. Review by Josh Campher.

As with most of my work, mis-spelling or corrections with grammar seem to be a problem, so here, Josh corrected me on some of them. Examples:


  • ...element will originate emanate around the ammo pack... 
  • The ammunition will look exactly the same as the ones used to reload weaponry,
  • ...use the pre-set created Existing code for the damage and effect of each element... 
The more in-depth information which i needed to change shown from Josh's review was to show certain elements of my mechanic off more and to explain them in greater detail. I definitely agreed with his comments as I personally think that they were right and they backed up my mechanic document more after adding the edits he said. These were:

  • I think that this is a very interesting Idea and would allow the player to choose which type of elemental effect they prefer and stick to it or even mix different elemental effects using the pre-set effects found on specific weapons and then using a different elemental ammo type. The only problem I can see for this mechanic is if the player gets confused by what ammo is equipped on each ammo, maybe on the HUD it could state which ammo type is being used as well as what pre-set elemental effect the weapon might have. - I edited this by not using the HUD as an idea as I do feel the Borderlands 2 HUD interface is complicated enough. I feel that by adding to this would make it worse. So instead, I used sound and particles and sound creation. Sound to emanate when the ammo is attached, showing the element. Also, when holding the gun, the particles will have a feel and colour to them to show what element is on the screen. So it is in the HUD, just not on the interface itself.
  • Do new ammo packs need to be modelled or are the textures the thing that would change - This was to represent the ammo itself when finding it in the environment so the artists could locate it easier. Instead of an image, I decided to say that there would be a texture which would be used to show the element of the ammo in the gun, and also the weapon type (shotgun, pistol etc)


Eyes and Nose Drawings


Started my face anatomy after using reference material on both guides and pages on the web. Starting from scratch really helps me understand anatomy and posture as a whole. Working at the face makes sense as it generally has the most detail coming from it. Eyes and noses were first, i'll now work onto the mouth, then ears, then a whole face bringing together my knowledge.

Next week, i'm going to start on body downwards. Startingwith the next, mainly to understnd the collar bone. The torso, arms, hands, legs and then finally feet.


In this part though, I g tto understand 2 main things about the 2 concepts.
The eyes I learnt that to make them have the more 3D effect, if I place a small shadow on the cornea near the eyelashes. Also the eyelashes differentiate in the angle they go at dependin on the angle of the character.

With the nose, I was able to udnerstnd more of the shading in the nose. I've drawn this actually on the image. But when creating the original shadow of the nose which will generally be there, indenting the shadow towards the inner of the nose, makes sense. Also in perspective, when drawing the nose from an angle, I always had a hard time drawing the outer part. I learnt a simple method to get over this.

Noses Reference


Monday 12 November 2012

Eyes Reference


Feedback for Mechanic Document -WEXP

Most of the feedback on this Mechanic Document was spelling and a mistakes with me saying the wrong thing when it means one thing. Examples:

  • so that if 2 people of the same class were together in a game, they'd still have different attributes and skills which differentiated (said different twice)
  • player will get exp (WEXP?) given to the weapon they're using each time they get a kill with it. After the players has gathered a lot of (enough) exp with a weapon and reached a certain milestone ( list the milestones, what point boundaries?) with it, players can use the exp (WEXP?)
The parts that are mostly highlighted in yellow, are the parts that needed editing due to me either saying something incorrectly (WEXP instead of EXP) or ive done a lot of mis-spelling and that needed editing.

The main criteria that needed changing throughout the document was explaining myself in more detail and making it clear about certain parts to know what im talking about more clearly. Examples here:


  • Here the programmer would need to create a counting system for the amount of WEXP the players are earning. (Similar to the badass system which is already in place? Which means not much extra work would have to be done?)
  • Using already created particles for this, there would need to be a particle design implemented so players could see when they earn WEXP with their weapon and get a rank up. (do you mean that the particle already exists for the badass system or something? If so, link it by name). If not, specify how it will look.
Overall, the main adjustments as there was a few, was to explain a lot more

about certain details in my document. After adjusting it, keeping it concise and

creating a firmer and more understandable document, im pretty happy with the

overall outcome of it at the end.

Friday 9 November 2012

Start of Blueprints

Drew these particular aspects as I feel that these were goin to be the more complex areas of the model. A few perspectives. Will use these in the final design to show reference to the arm so I can model it easier and quicker

Ambient Occlusion Maps. From Tutorial to Product


We started with this model and tutorial to create an ambient occlusion map on our future models. Helping us figure out the shadows opf the model so we could build around it. Very useful as we can then create better effects, and effectively, shorten down the time of texturing.

My Axe and Model Design


A person can only just see it, but at the outer edges of the final render, you can see blocks of shading. When I create the model again and texture it, using this I could of rendered shadow much easieronto the model and figure out where I would place shadows on it

Axe and Shield on Plinth

 
I placed the axe and shield on the moving plinth

Final Plinth with B/G and texture

Final Plinth Images with different Infinity Backdrop and Environment settings